ski & snowboard manufacturing process
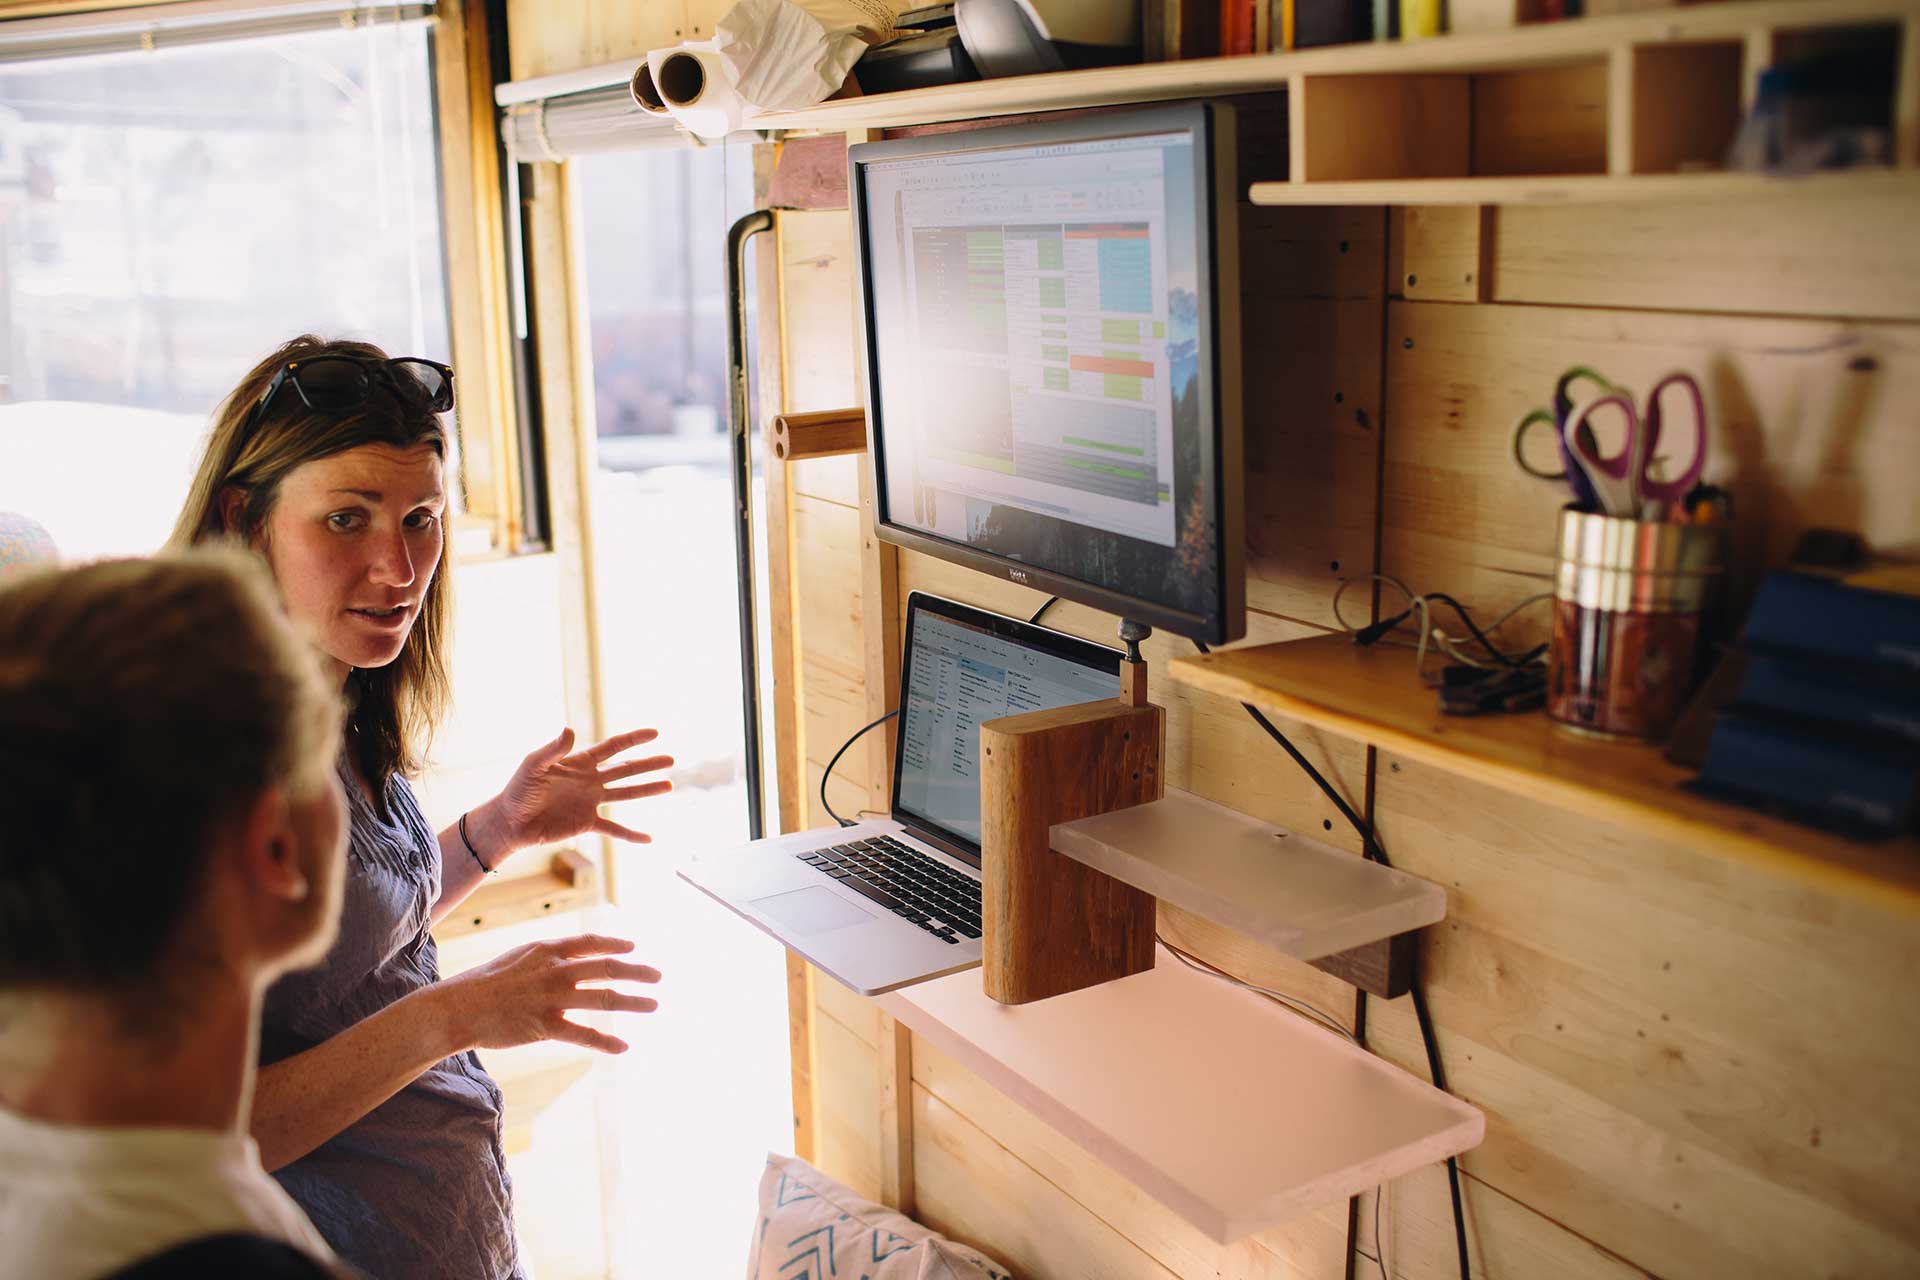
The design process starts with a conversation. It allows the student to define how they want their skis or snowboard to perform, what kind of snow conditions, turn radius, camber/rocker profile and other relevant design markers. Kristin's insight comes from designing and manufacturing 1000's of full custom skis. This unique background informs the conversation and as importantly enables her to teach students how to continue the conversation with their peers and potentially their clients.
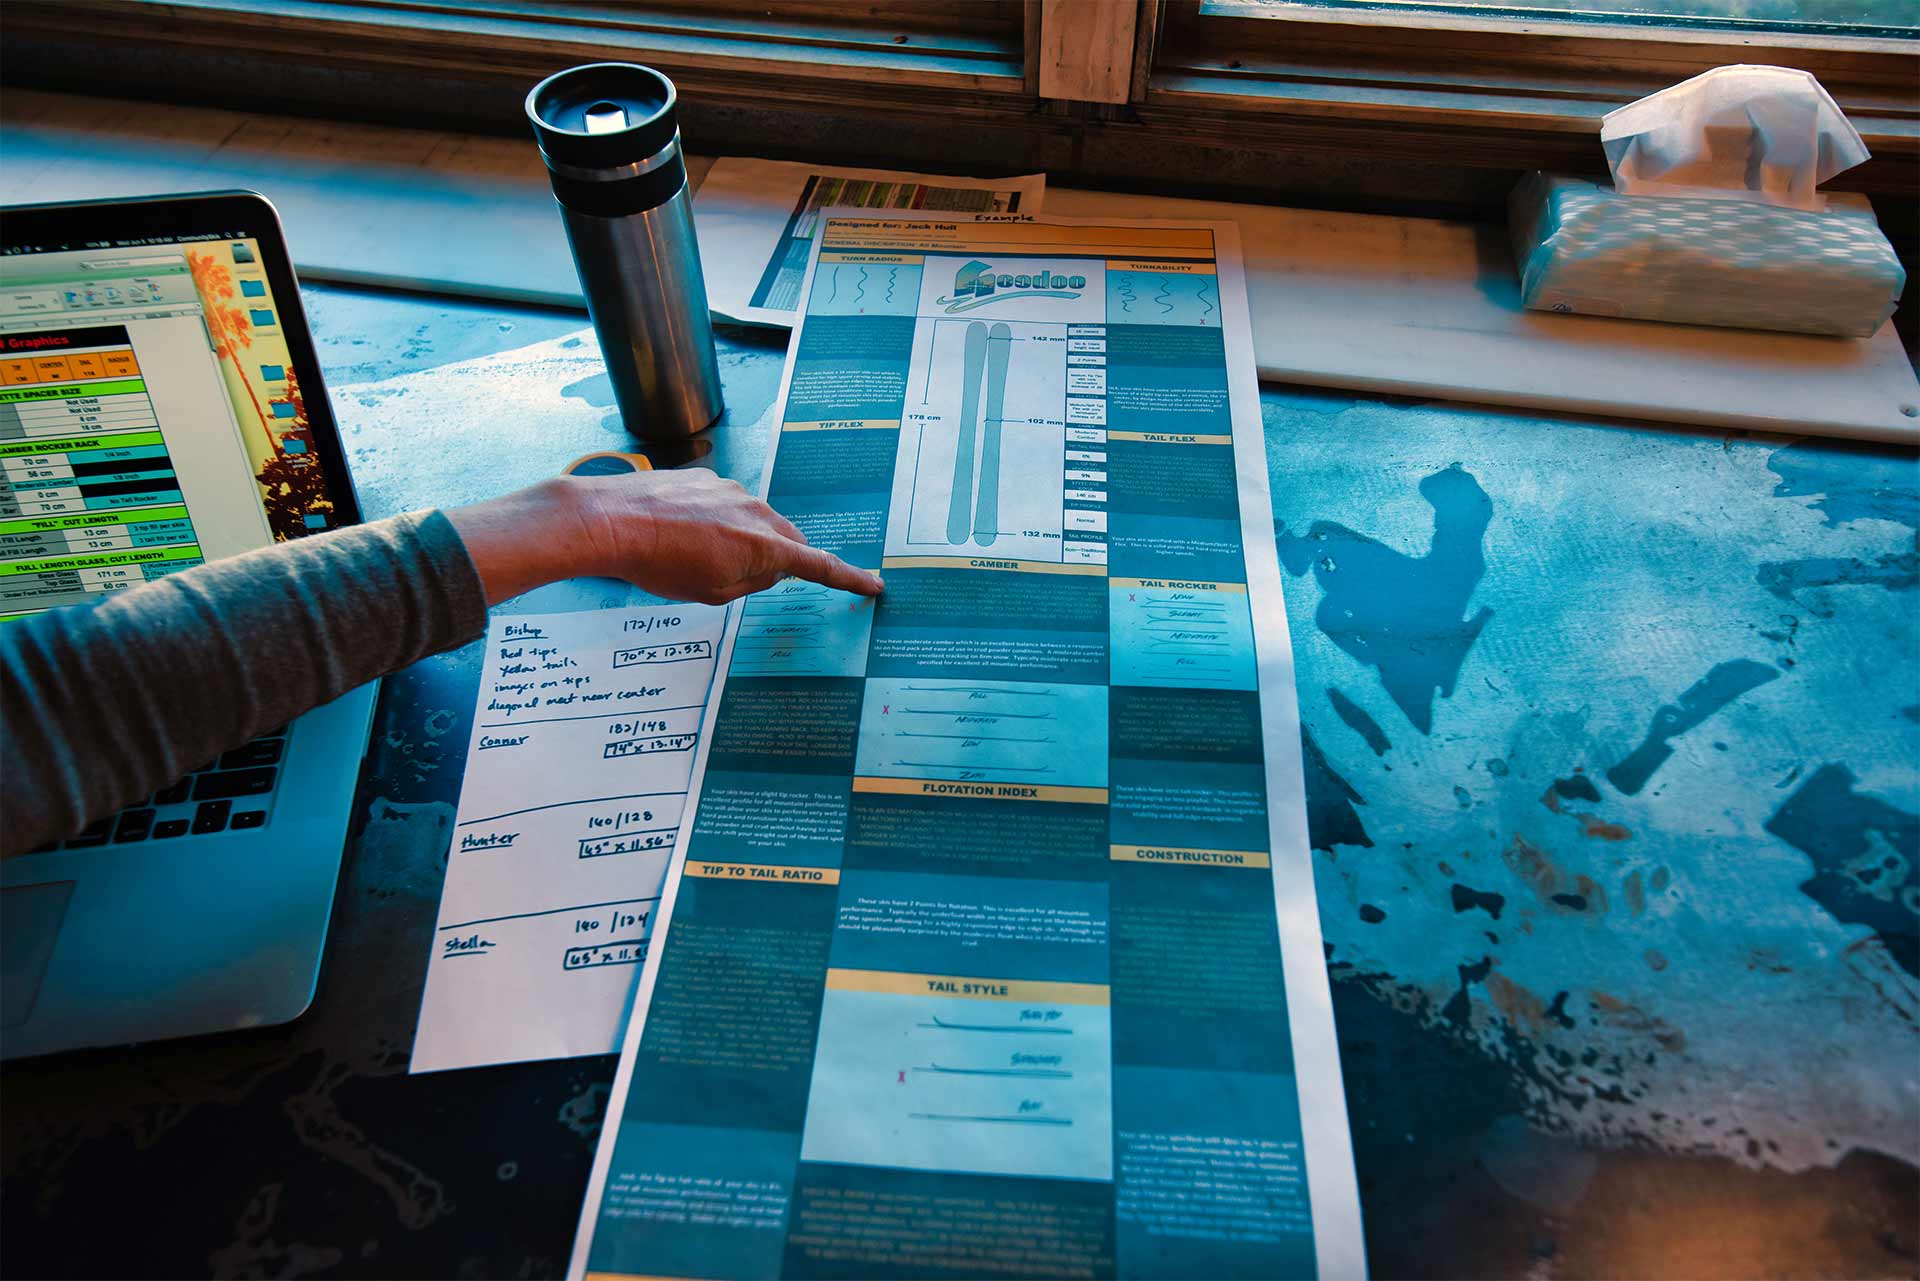
The software auto generates a "client copy". It translates the numeric values of a set of skis into performance characteristics. It's comprehensive, in-depth and serves as a powerful learning tool in the design process.
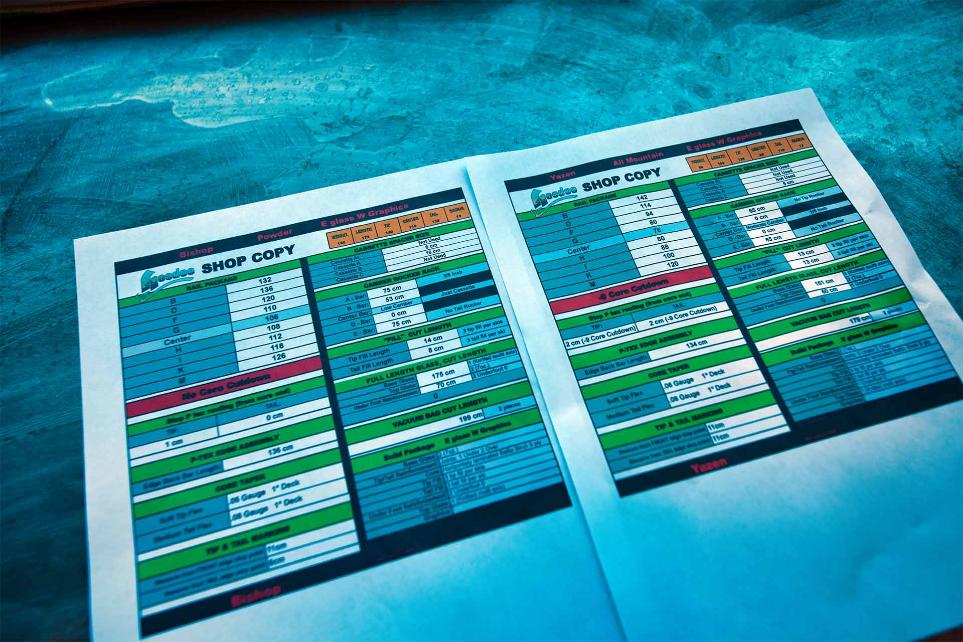
The design software also auto generates the "shop copy". This puts the ski back into its numeric values, which are then translated into tooling parameters. Its purpose is to explain how the student will be setting up each workstation to build their skis or snowboard.
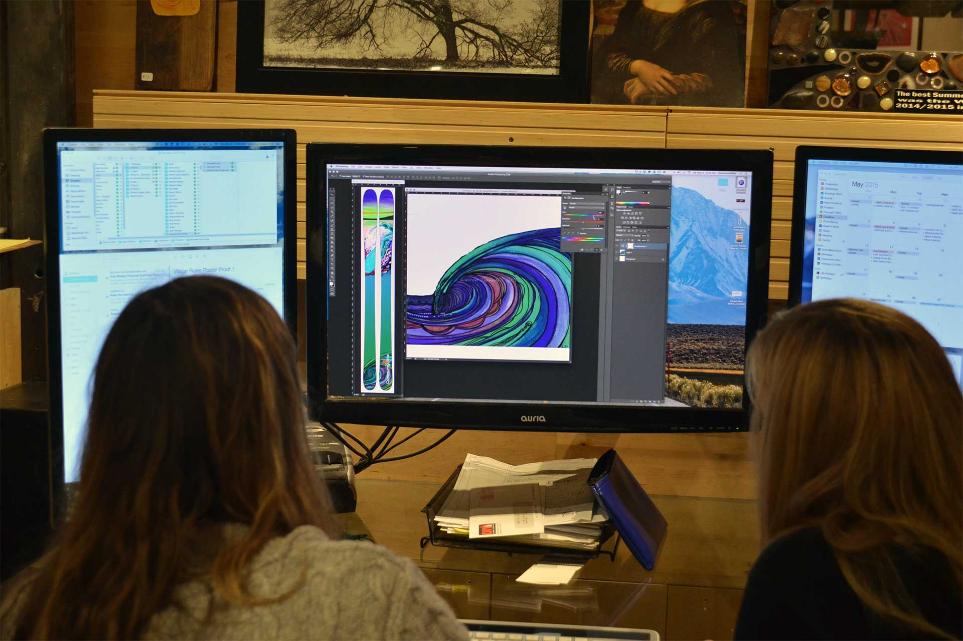
After the technical aspects of the skis have been designed, it is time for the other half of the brain to get active. This is where the students create and then lay out their graphics.
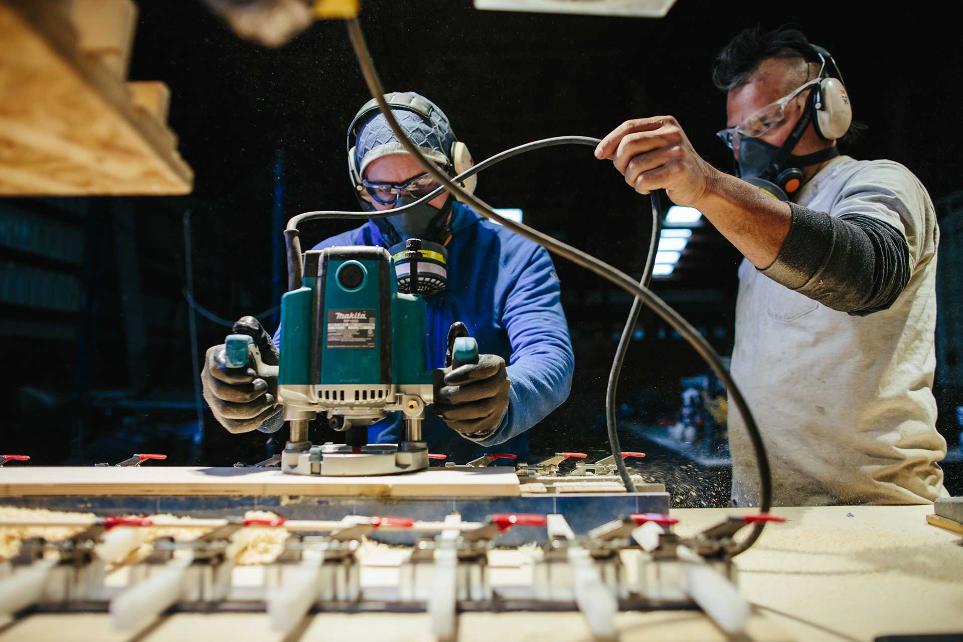
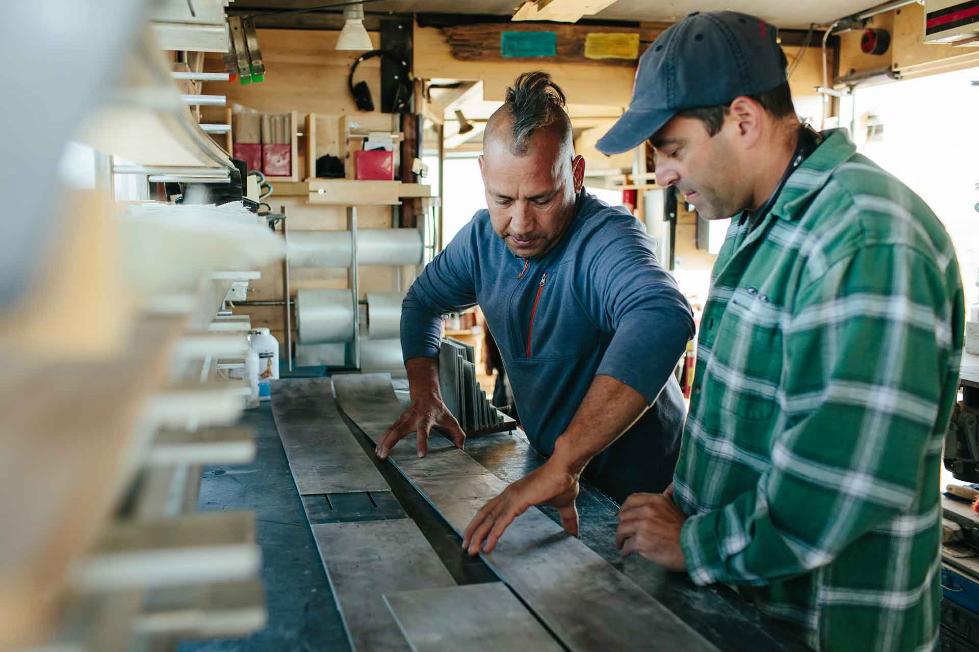
All of our tooling and software are proprietary and they work hand-in-hand. This is the "rail package" workstation. After using the shop copy to set up that shape of the ski it is time to pull the tigger and shape the ski-core and p-tex.
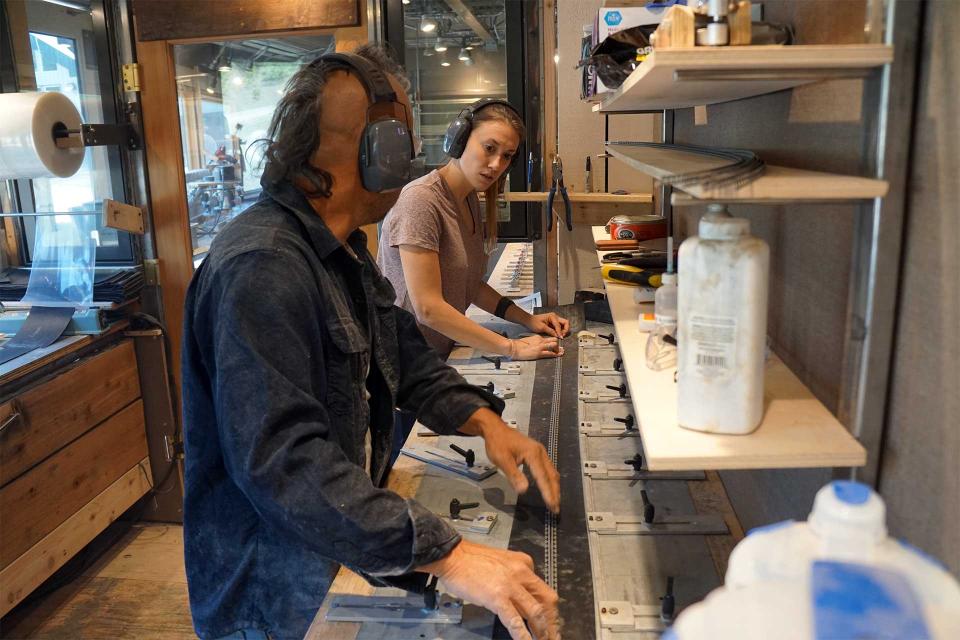
This is the "p-tex edge" workstation. It allows for tight tolerances, full adjustability and repeatability when attaching the edge stock to the base material.
The key to a skis performance is matching the flex pattern to the weight and type of ski the client has designed. We use an adjustable "taper deck", which develops both length of taper and core termination thickness.

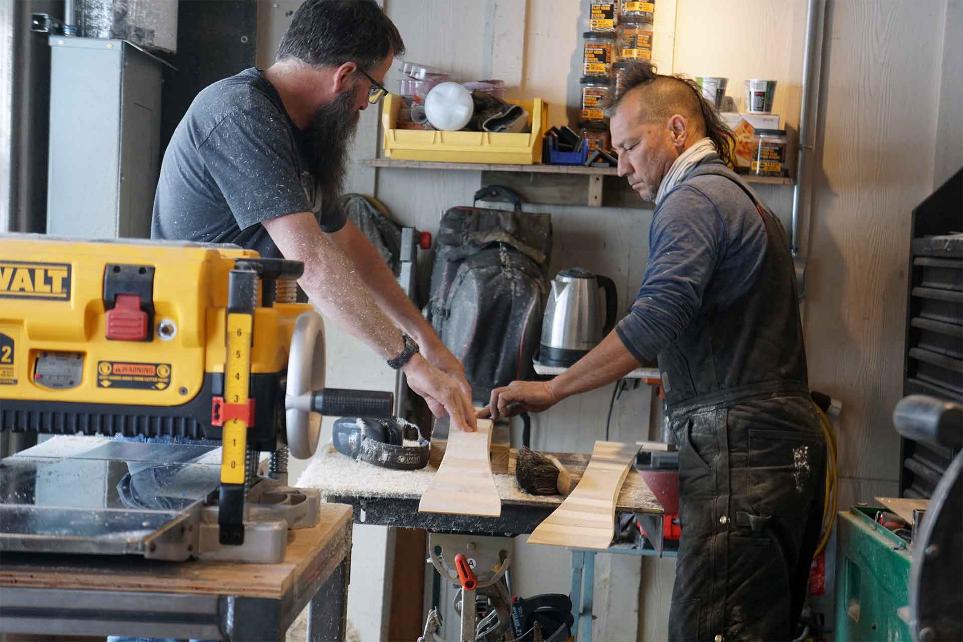
Scribing the tip and tail shape.
The ski is built on a "cassette" that has the tip and tail slope built into it. We fabricate adjustable cassettes that allows us to insert various sized throats in 2cm increments. This allow us to build from 144cm - 202cm in length.
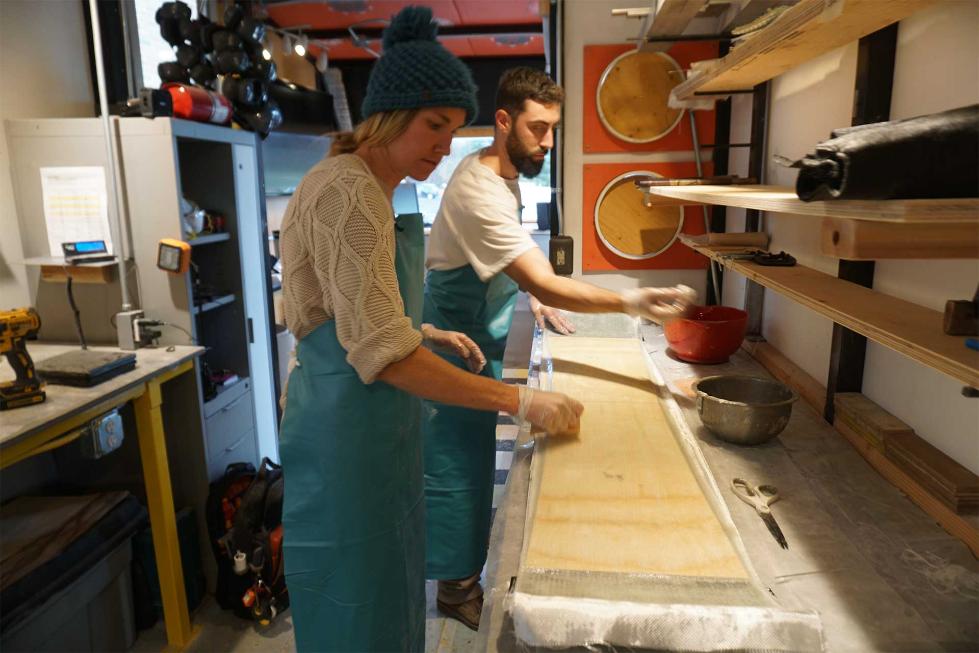
A ski/snowboard is essentially a high tech composite, where the combining and bonding of differing materials creates the performance characteristics and strength attributes. Aside from building an actual ski, understanding the science inherent in building composites is an education unto itself.
One of the most efficient and technically advanced ways to press a ski is to use atmospheric pressure. By creating a vacuum with the surface and interior space of a ski, we are able to evenly distribute considerable pressure on all contact surfaces. This also allows us to evacuate all excess resin and any trapped air within the composite. This produces the lightest and strongest composite and also has the added benefit of allowing us to "press" any ski shape.
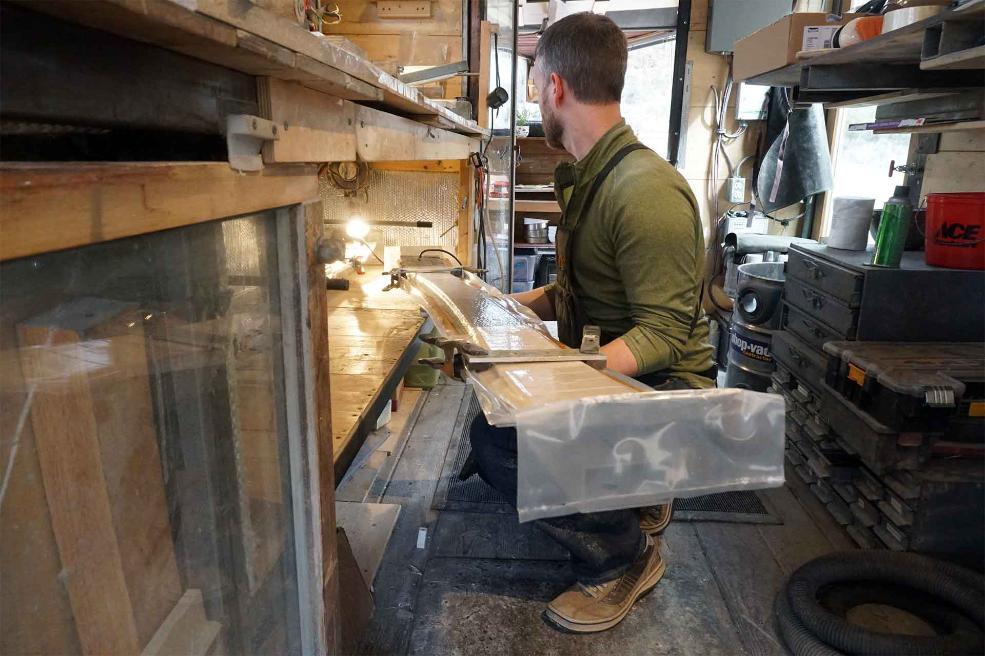
After a cycle time of approximately 40 mins at 148 degrees ambient air temperature, the skis are removed from the camber/rocker rack and the vacuum bag system is peeled back revealing something truly beautiful.
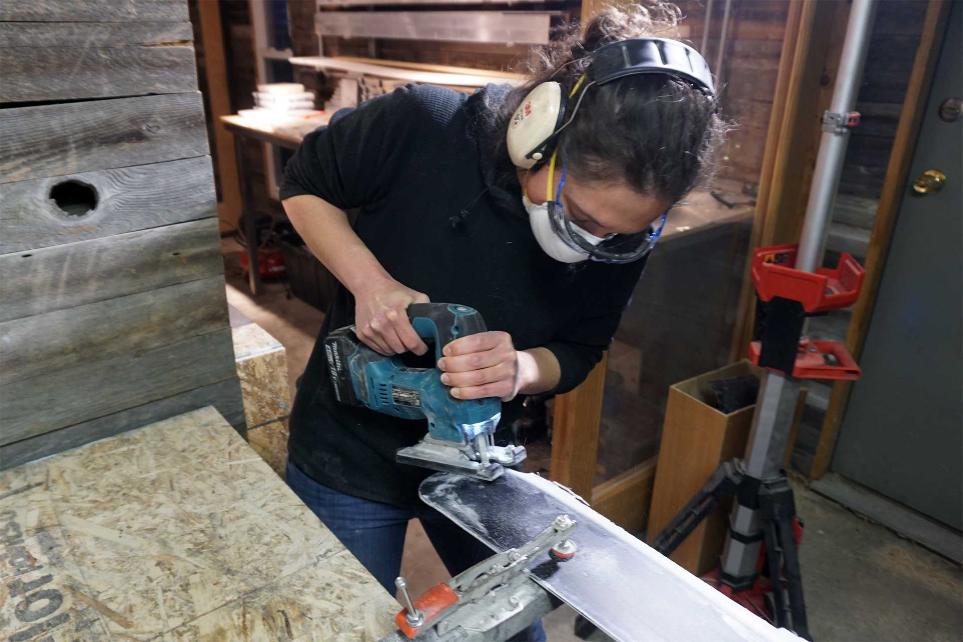
After the ski cools for a few minutes it gets trim cut, side grinded, base grinded and prepped for wax.
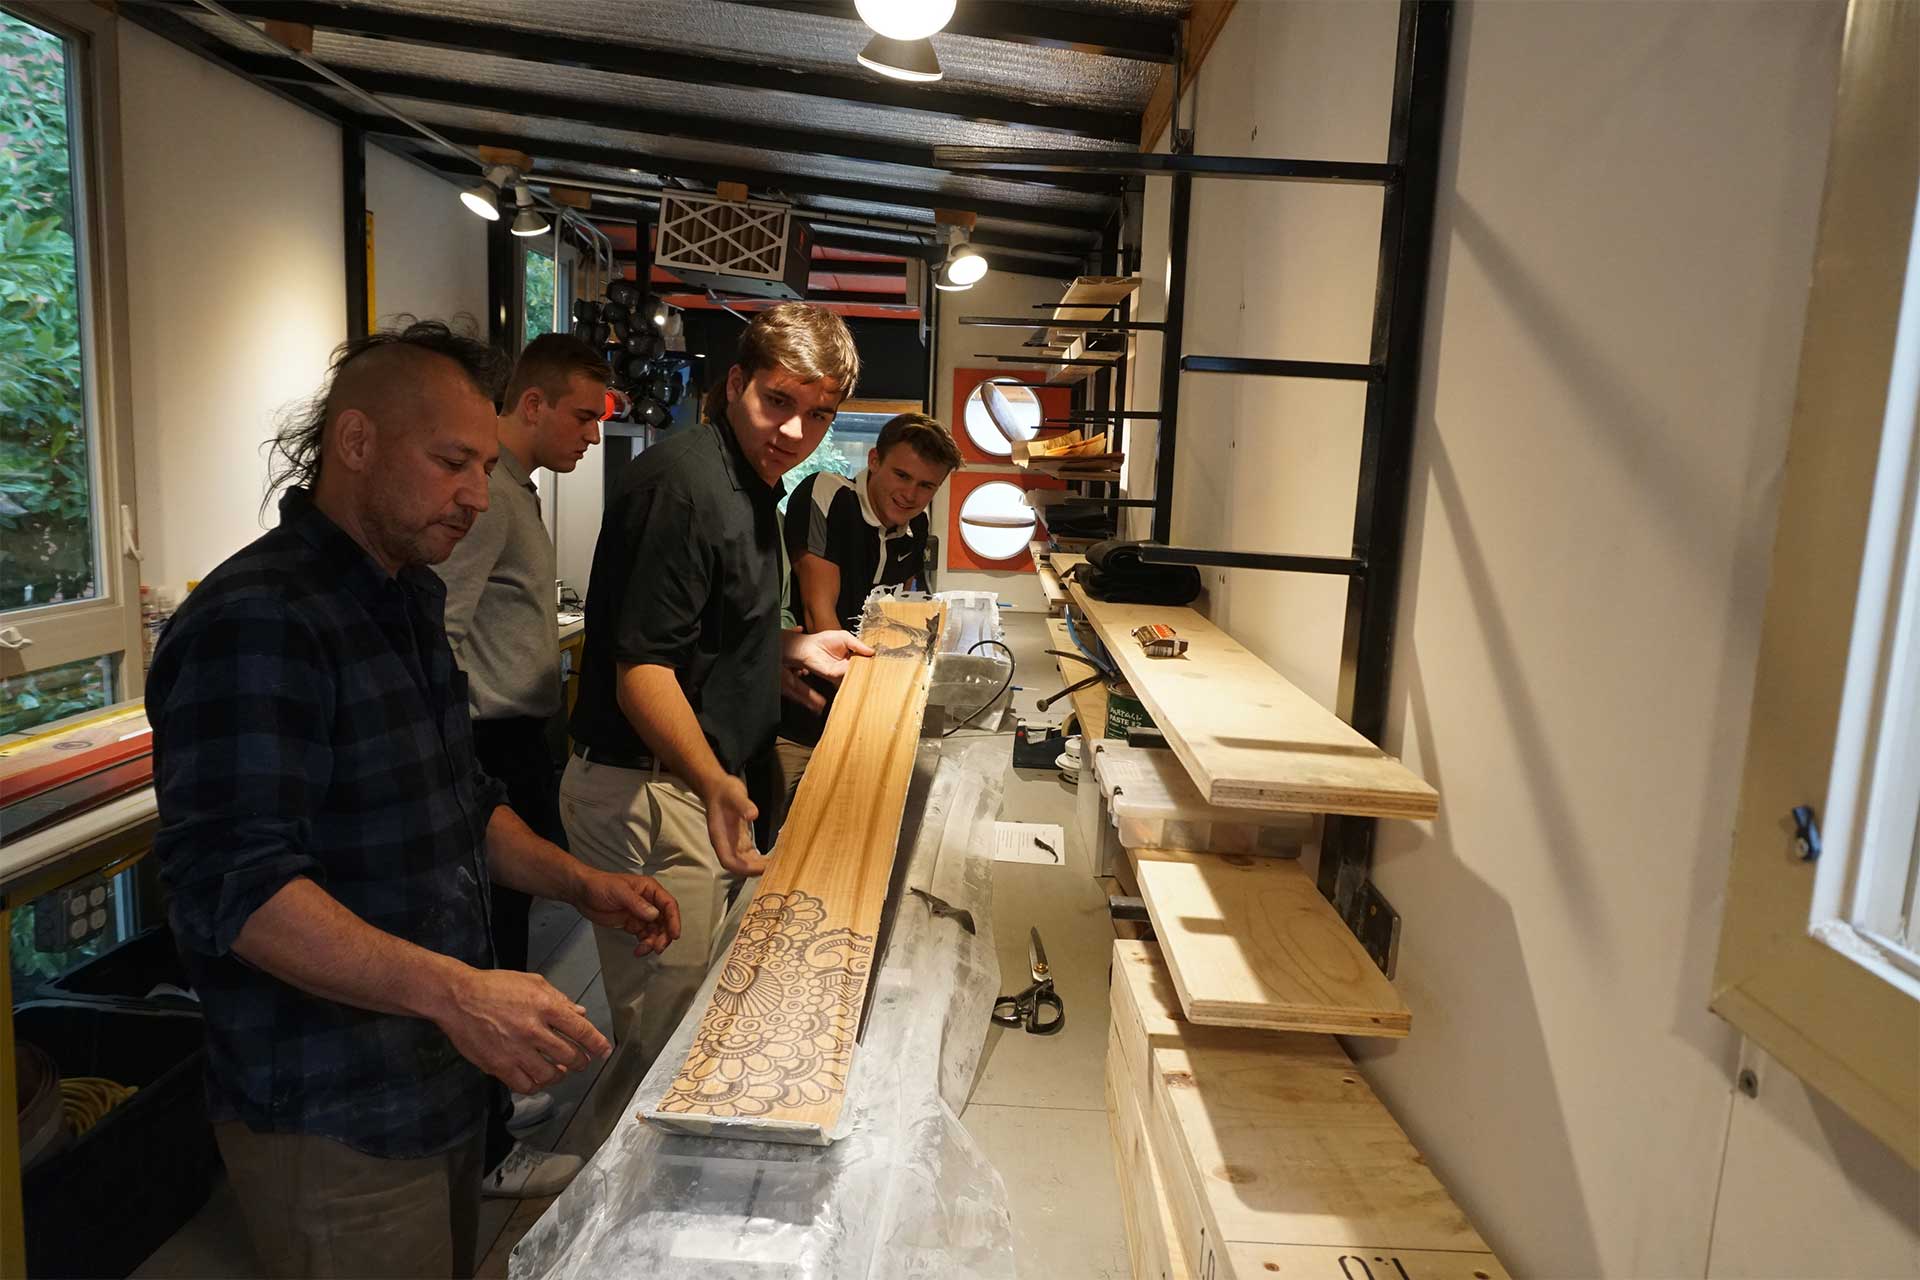
We finish off with a 2K high build urethane clear coat. Next is mark boot center location, get your bindings mounted and the last step below, brings it all together.
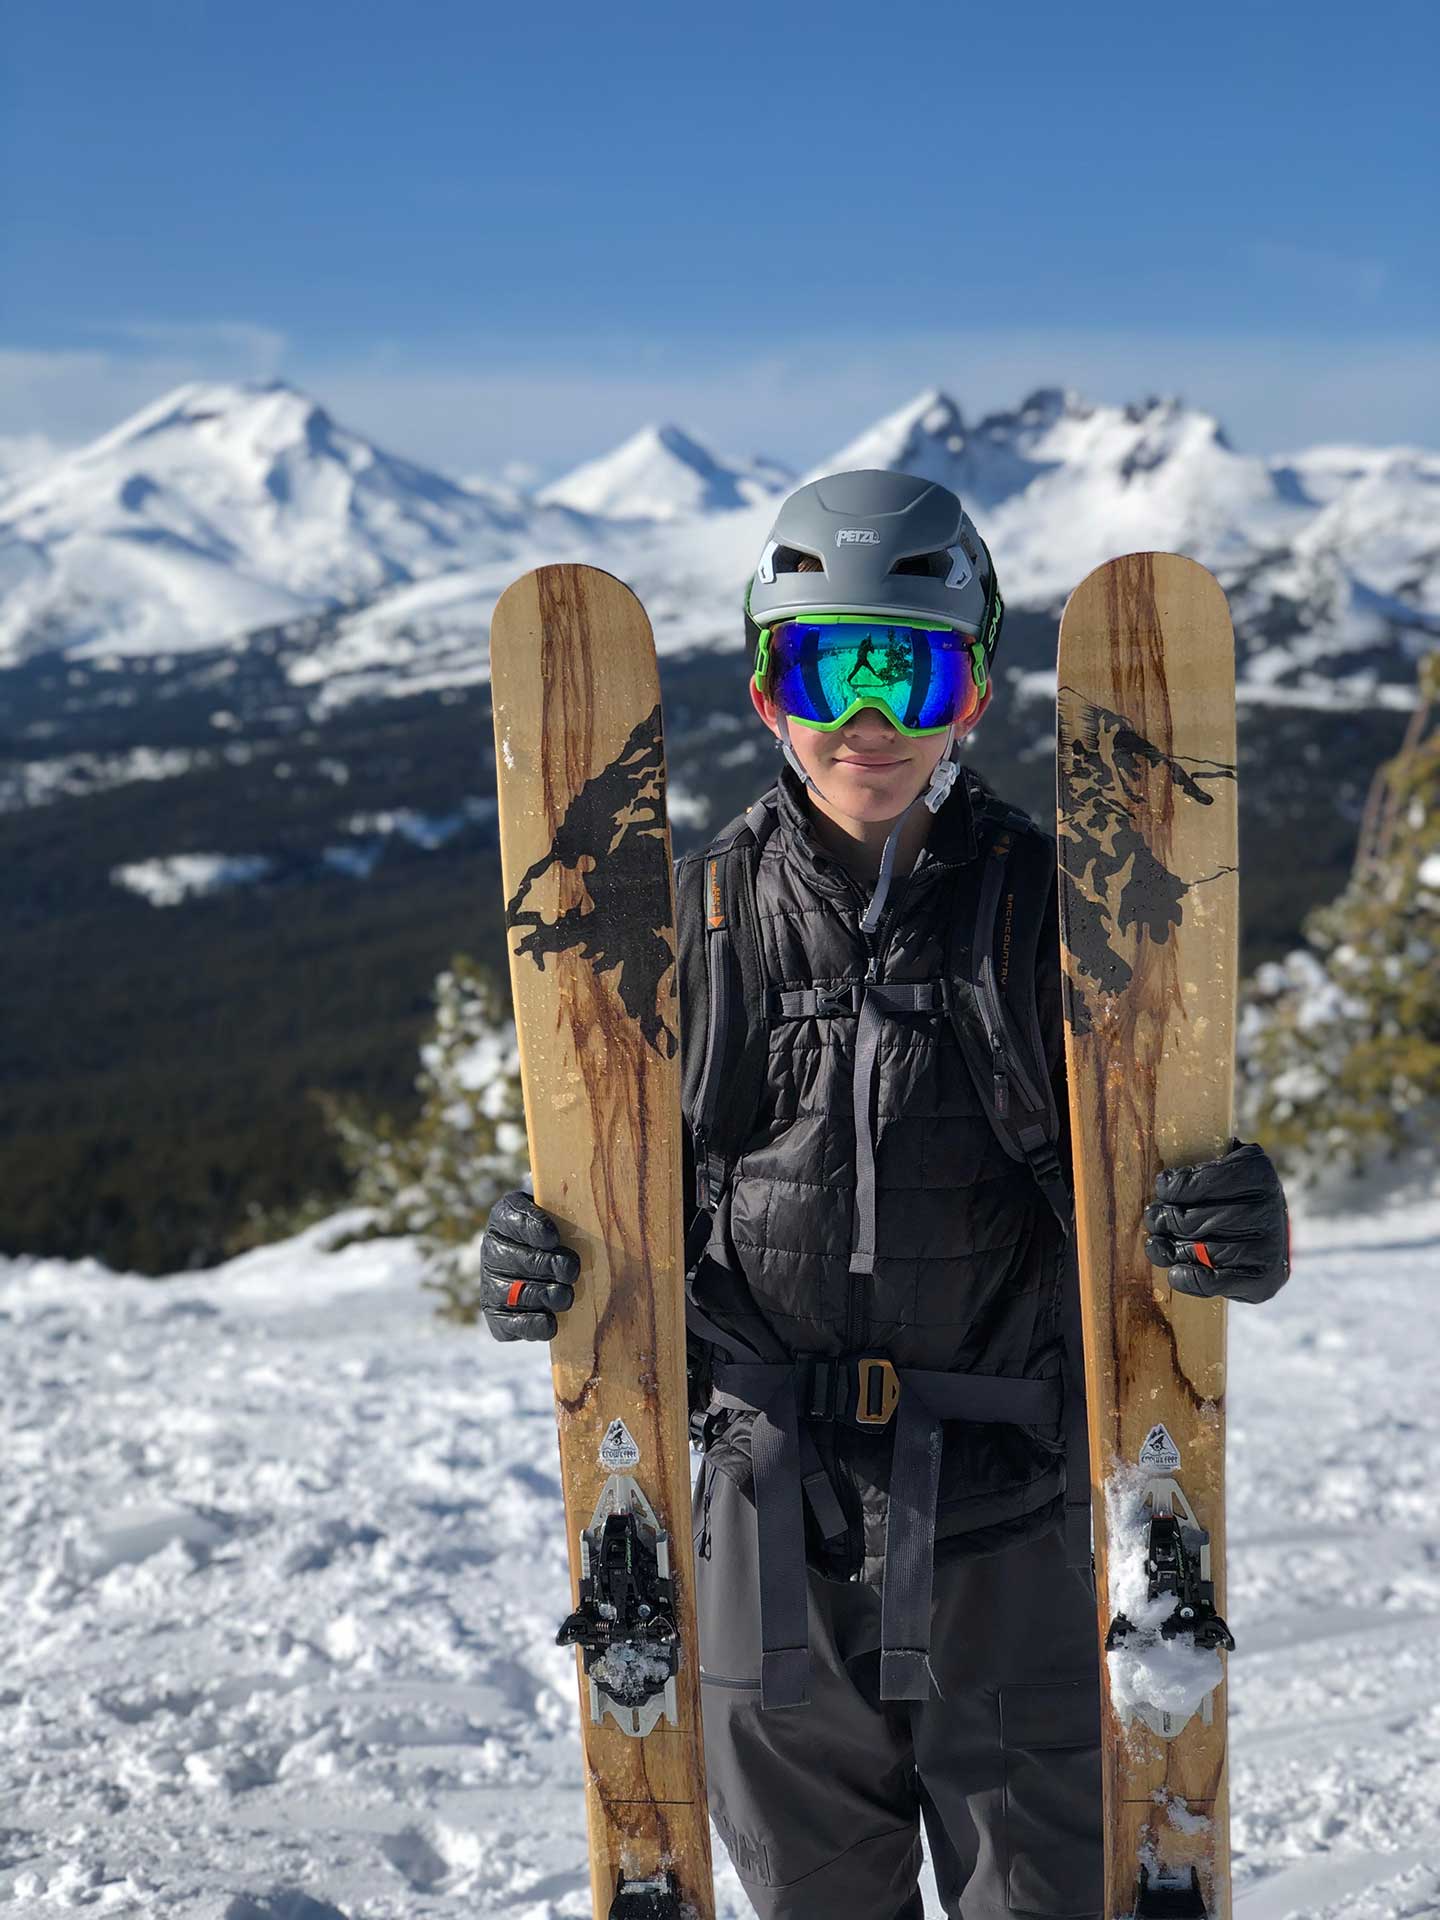
Student from Cascades Academy, Oregon, who along with 6 other classmates built his skis in a 4 day workshop at Hoodoo Ski Resorts Slope-side Ski Manufacturing Facility.
© Copyright 2020 Community Fabrication, LLC